Replacing the roof on your home is a significant project. It’s not just about picking new shingles; it’s about making sure your home is protected for years to come. Understanding when and why you need a new roof can help avoid costly damage and make the whole process smoother.
Your roof does a big job. It keeps the rain out, the heat in, and protects everything inside your home. Over time, though, roofs wear out and need replacing. Knowing the signs that your roof is failing can help you take action before small problems become big headaches.
In this guide, we will walk you through the process of replacing your residential roof. From spotting early warning signs to choosing the right materials and understanding each step in the replacement process. Plus, we’ll share tips to ensure everything goes as smoothly as possible. Let’s dive in and get your roof replacement project started on the right foot!
Signs You Need a Roof Replacement
Knowing when to replace your roof is important. Here are some signs that it might be time for a new one:
- Age of the Roof: Most roofs last about 20-25 years. If your roof is older than that, it might be time to think about a replacement, even if it looks okay from the ground.
- Missing or Damaged Shingles: Shingles protect your roof from weather. If you notice shingles that are cracked, curled, or missing, your roof is not protecting your home properly.
- Roof Leaks: Water stains on your ceiling or walls are a clear sign that your roof is leaking. Leaks can cause serious damage, so it’s important to address them quickly.
- Sagging Roof: A sagging roof can indicate structural issues. This is a serious problem that usually means your roof needs to be replaced as soon as possible.
- Moss and Algae Growth: While moss and algae might not seem like a big deal, they can hold moisture against your roof, which can lead to damage over time.
- Granules in Gutters: Finding shingle granules in your gutters is a sign that your shingles are wearing down. Once the granules are gone, your shingles will deteriorate quickly.
By keeping an eye out for these signs, you can catch problems early and make the necessary repairs or replace your roof before the damage gets worse.
Choosing the Right Roofing Material
Picking the right roofing material is a crucial step in the replacement process. There are several options, each with its own pros and cons.
- Asphalt Shingles: These are the most popular choice for homes. They are affordable, easy to install, and come in a variety of colors. Asphalt shingles work well in different weather conditions but may not last as long as other materials.
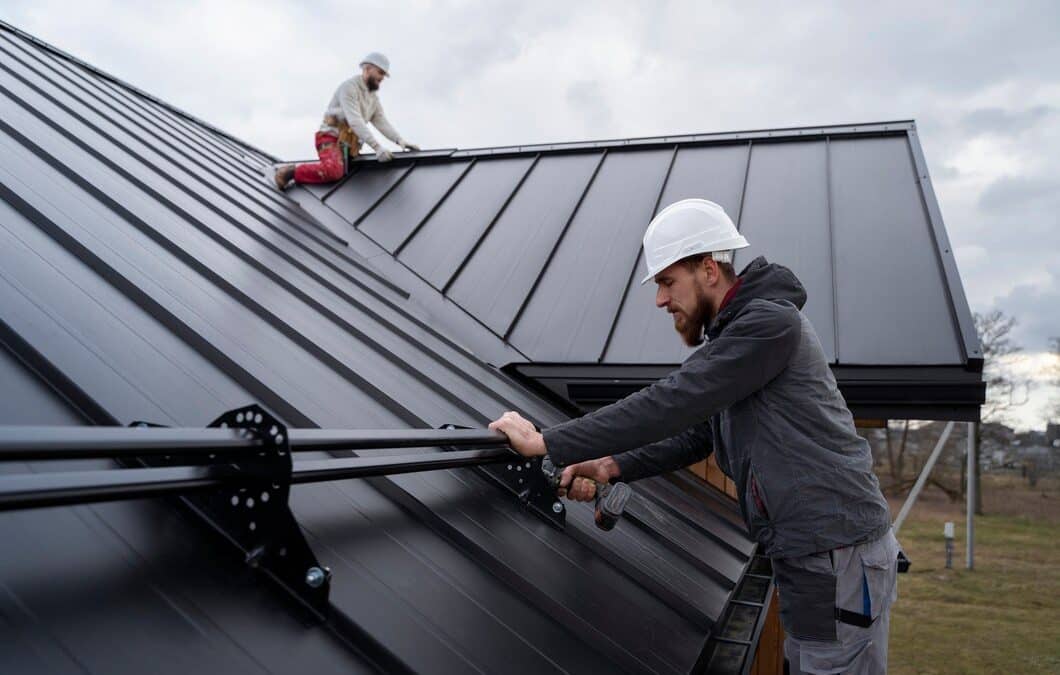
- Metal Roofing: Metal roofs are durable and long-lasting. They are resistant to fire, wind, and insects. Metal roofing can be more expensive up front, but it often lasts much longer than asphalt shingles.
- Tile Roofing: Tiles, whether made of clay or concrete, are known for their beauty and long life. They are excellent for hot climates because they can withstand extreme heat. However, they are heavy and may require extra structural support.
- Wood Shingles and Shakes: Wood gives a natural look to your home. While they are beautiful, they do require more maintenance and are not as fire-resistant as other materials.
- Slate Roofing: Slate is a high-end roofing material known for its durability and distinctive look. It is one of the longest-lasting roofing materials, but it’s also one of the most expensive and heaviest.
Choosing the right material depends on your budget, climate, and how long you want your roof to last. Research each option and talk to a roofing professional to help you make the best decision for your home.
The Roof Replacement Process Step-by-Step
Replacing your roof might seem like a big task, but breaking it down into steps can make it easier to understand. Here’s a step-by-step look at what to expect:
- Inspection and Estimate: First, a roofing professional will inspect your roof to see its condition. They will then provide an estimate for the replacement cost. This includes materials and labor.
- Choosing Materials: Next, select the roofing material that best suits your needs and budget. Discuss options with your contractor to make an informed choice.
- Permits and Planning: Before any work can start, permits might be needed. Your contractor will usually handle this. Proper planning ensures everything is ready for a smooth project.
- Removing the Old Roof: The old shingles or tiles will be removed. This part can be messy and noisy, but it’s a necessary step.
- Inspecting the Decking: After removing the old roof, the underlying deck is inspected. Any damaged sections will be repaired or replaced to provide a solid base for your new roof.
- Installing New Underlayment: A waterproof underlayment is installed to protect your home from leaks. This layer adds extra protection against moisture.
- Installing New Roof: The new roofing material is installed. This includes proper sealing and alignment to ensure your roof is sturdy and effective.
- Cleaning Up: A good contractor will clean up all the debris once the job is done, leaving your property as clean as it was before the work started.
- Final Inspection: After installation, a final inspection ensures everything was done correctly. This helps catch any minor issues before they become problems.
Understanding these steps helps you know what to expect and makes the roof replacement process smoother.
Tips for a Smooth Roof Replacement Experience
Replacing your roof doesn’t have to be stressful. Here are some tips to make the process go smoothly:
- Plan Ahead: Schedule your roof replacement during a time when the weather is likely to be good. Avoid rainy seasons if possible.
- Communicate with Your Contractor: Keep open lines of communication with your roofing contractor. Ask questions and stay informed about the progress.
- Prepare Your Home and Yard: Move vehicles and outdoor furniture away from the work area. Cover plants and outdoor items that could be damaged by falling debris.
- Inform Your Neighbors: Let your neighbors know about the planned work so they can be prepared for any noise or disruption.
- Plan for Noise: Roof replacement is a noisy job. Plan for pets and kids to be indoors or out of the house during the work to minimize stress.
- Check Work Regularly: Regularly check the progress with your contractor to ensure everything is going well. Address any issues as soon as they come up.
- Ensure Proper Ventilation: While replacing the roof, check the ventilation system. Proper ventilation prevents future problems like mold and extends the lifespan of the new roof.
- Review the Final Work: Once the job is done, review the work with your contractor. Ensure that everything meets your expectations, and find out how to handle any potential future problems.
Following these tips helps ensure your roof replacement goes off without a hitch, leaving you satisfied with the results.
Conclusion
Replacing your roof is a major home improvement project that can seem daunting at first. Knowing the signs that indicate it’s time for a new roof, choosing the right materials, understanding each step of the replacement process, and following practical tips for a smooth experience all contribute to a successful project. With the right preparation and a good plan, you can ensure your home remains protected and looks great.
If you’re ready to start your affordable roof replacement journey, the team at Mike Huddleston Roofing Systems is here to help. Contact us today to get expert advice and professional service for your roofing needs.